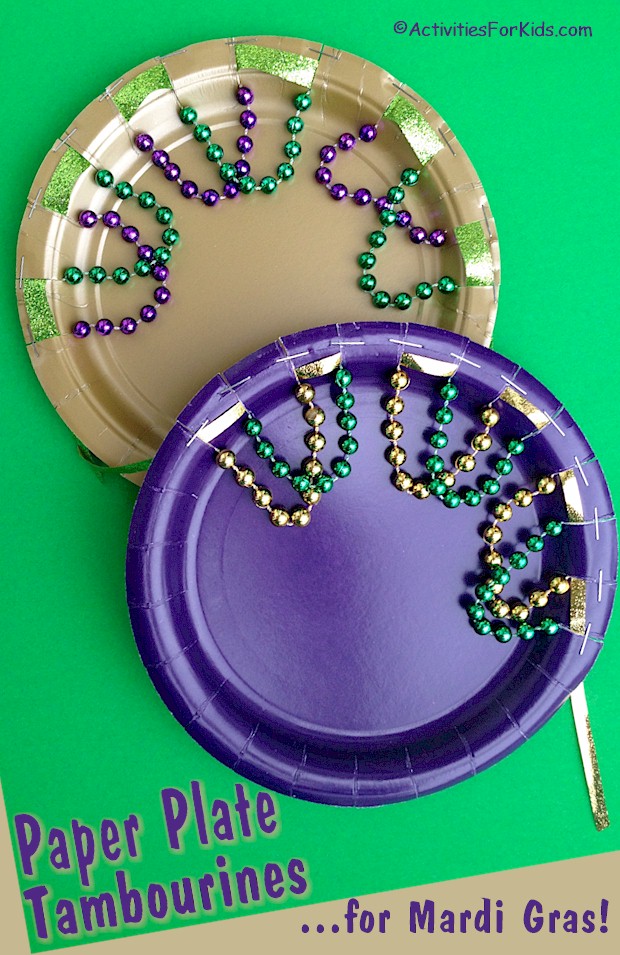
Looking for a fun and easy Mardi Gras craft? This Paper Plate Tambourine is the perfect hands-on activity for kids! Using colorful Mardi Gras beads, paper plates, and ribbon, children can create their own musical instrument while celebrating the festive season.
Mardi Gras is all about music, color, and fun, so why not let kids join in the celebration with a homemade tambourine? Whether you’re crafting at home, in a classroom, or at a party, this simple DIY tambourine is a great way to introduce kids to rhythm and music while embracing the vibrant traditions of Fat Tuesday.

Supplies You’ll Need:
- Paper plate (sturdy, 9-inch plates work best)
- Mardi Gras beads (in purple, gold, and green)
- Scissors
- Stapler
- Ribbon (optional, for decoration)
[AFK_02]
How to Make a Paper Plate Tambourine
1. Choose Your Colors
Select a colorful combination of beads and a paper plate. Mardi Gras colors—purple for justice, green for faith, and gold for power—are great choices for an authentic look.
2. Cut the Beads
Using scissors, cut three sections of beads from each color, with 12 beads per section. This will create a vibrant pattern on the tambourine.
3. Snip the Paper Plate
Make 12 small, 1-inch cuts around the edge of the paper plate. Space these evenly along half of the plate’s edge.
[AFK_02]
4. Attach the Beads
Take a section of beads and slide the string of the first and second bead into the first cut on the plate. One bead should rest on the back of the plate, while the others hang on the front
Skip the next cut and attach the same strand of beads into the third snip, securing one bead on the back of the plate. Repeat this process for all beads, alternating colors to create a festive pattern.
5. Add Ribbon (Optional)
For extra decoration, thread a ribbon through the snipped sections of the paper plate. This adds a fun, festive touch!
6. Secure Everything
Use a stapler to close the snipped sections of the plate. This ensures the beads and ribbon stay in place.
[AFK_02]
Time to Make Some Music! 
Your Mardi Gras Paper Plate Tambourine is ready to shake! Kids will love making music while celebrating this exciting holiday. This craft is not only easy and inexpensive, but it also encourages creativity, fine motor skills, and musical fun.
Perfect for:
Mardi Gras celebrations
Classroom activities
Kids’ parties
Music-themed crafts
Let the good times roll (Laissez les bons temps rouler!) with this DIY tambourine craft that brings the joy and rhythm of Mardi Gras to life!
Don’t forget to share this fun craft with friends and family! Looking for more Mardi Gras crafts? Check out our other printable and DIY activities for kids!
Like this craft? Try it as a Chinese New Year Drum.
