
Spring Has Sprung – Let’s Make a Flower Coaster!
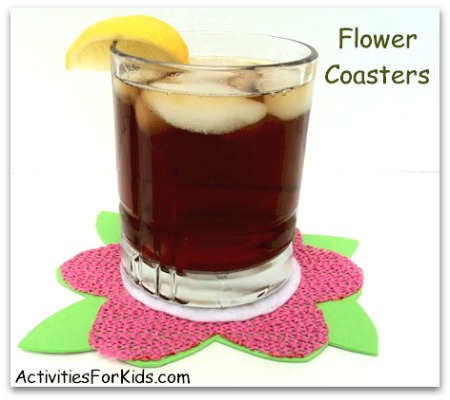
The beauty of spring! The birds are chirping, the sun is peeking out, and your crafting table is calling. This week’s DIY delight? These absolutely adorable Flower Coasters! They’re bright, fun, and come with a free printable template—making them so easy to create for almost any age group. Trace, cut, and glue, that’s it!
Whether you’re looking a colorful Mother’s Day gift, or to surprise Grandma with something handmade, these coasters are the perfect pop of color and charm. Planning a summer themed Garden Birthday Party Bash or an Island Luau Birthday theme, use these coasters as party decorations or a group craft.
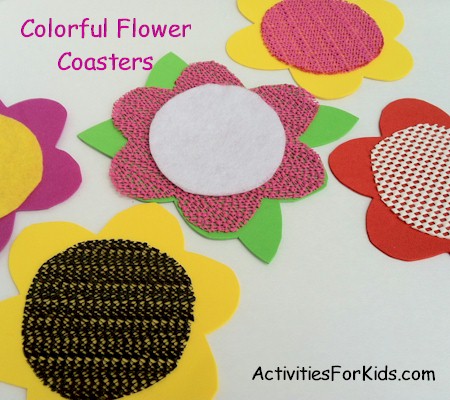
There are several ways in which these flowers can be put together. The green leaf background is optional. The following picture shows combinations of craft foam, felt, rubber shelf liner and even inexpensive dollar store rubber placemats. Gather up your supplies, use a combination of bright, fun colors.
Materials Needed
One of the coolest things about this project is how customizable it is. You can mix and match materials like:
- Craft foam
- felt
- Rubber shelf liner
- Dollar store placemats (yep, we love a $1 find)
- The leafy green base is totally optional, but adds a nice touch of springy flair and a fancy touch
Supply Checklist
- Scissors
- Glue or glue gun
- Pencil or fine-tip marker (whatever works best on your material of choice)
- Colorful foam, felt, rubber shelf liner, or even a mix
- Flower Template (printable)
Assembling Your Flower Coaster
- Print Your Template:
Start by printing the Flower Template on regular paper. Want a longer-lasting version? Use cardstock. - Cut and Trace:
- Leaves: First, cut out the leaf layer and trace it onto green craft foam (or skip it—your flower, your rules).
- Flower Petals: Remove the leaf section and trace the petal layer onto your chosen material—felt, foam, placemat, or liner.
- Center Circle: Cut the center circle and trace it onto something absorbent. Felt is a solid choice here since it’ll soak up glass condensation better than slick foam.
Tip: If you’re using foam for the flower center, consider keeping that one purely decorative. The non-absorbent foam will cause more slippage than the felt.
These little blooms work great for resting your lemonade, but the colorful blooms can be used as spring decorations or even party favors!
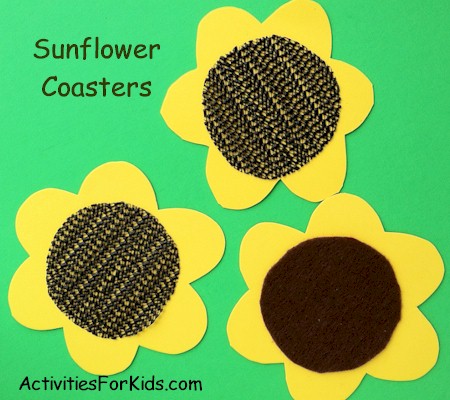
Hosting a Garden Birthday Party ? Hand out foam sheets and templates so guests can craft their own flower masterpieces. Come fall, swap out your colors—hello, yellow petals and brown centers—to create DIY sunflowers for an autumn harvest. Celebrate National Sunflower Day on the first Saturday in August.
So grab your scissors, gather your rainbow of supplies, and let’s bring some DIY sunshine to the table. Happy crafting!