
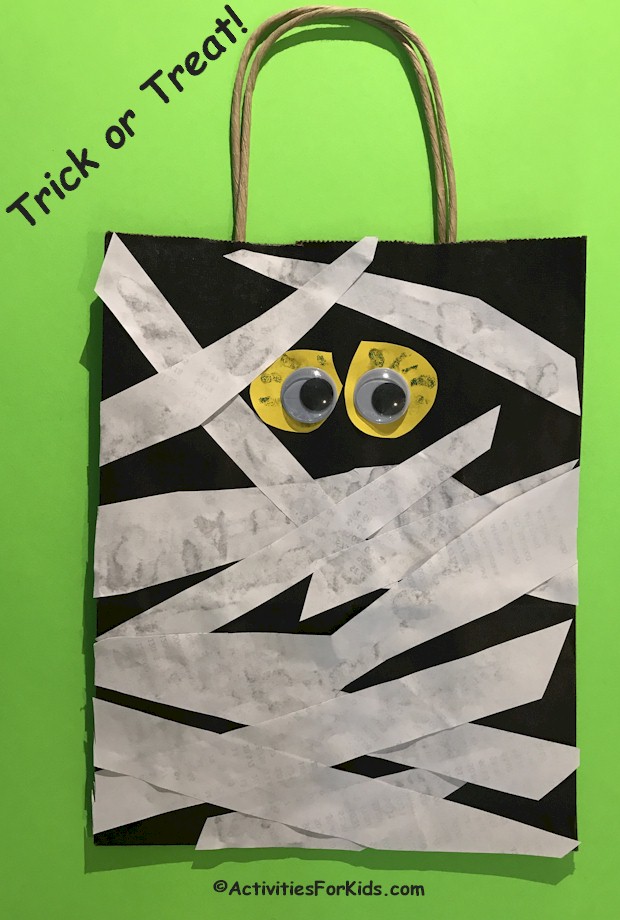
Kids will have a blast making these cute Trick or Treat Mummy Bags. It’s so easy to transform a basic black gift bag into a Halloween treat bag for trick-or-treaters or Halloween party favors.
[AFK_02]
Halloween is just around the corner, so lets give this easy pre-school activity a try. Each bag is as unique as the little crafter.
What You Need
- Black gift bag – approximately 5″ x 8″
- White paper
- Yellow or green paper
- Large google eyes
- Glue stick
- Scissors
Putting the Trick or Treat Mummy Bag Together
Have the children cut strips of white paper into varying sizes. These will be used for the mummy wraps. This is a great opportunity to use up any leftover scraps of paper from other projects.
Cut out two oval shapes from the yellow paper will add a scary look for the mummy’s eyes. Children can be creative here and even use green, red or purple for a ghoulish look.
Lay the black bag flat, you will only be decorating the one side. I used an 8.5″ by 10″ gift bag, but any size will work. You may want to use smaller bags for party favors.
Glue the colored ovals in place for the eyes and top with the large google eyes. Children can add a little more emotion to the eyes by dotting on a little glitter glue or marker.

[AFK_02]
Put a light layer of glue on one side of the white paper. An option here is to put a small amount of glue in a dish and dilute with some water. Then use a paint brush to apply the diluted glue to the back of the paper.
Attach the strips of paper in a criss-cross pattern on the bag to create the mummy wraps. The strips of white paper will most likely overhang the sides of the bag, but once dry, children (or adults) can carefully trim off the excess.
More Ideas
If you like this Halloween activity, try this easy Preschool Paper Plate Mummy Craft.