A fluttering, flying Paper Plate Bat craft for kids. Cooler fall weather, the changing season and the anticipation of Halloween! What a great time for kids to take a little break from schoolwork and put together this Halloween craft.
Why Kids Love This Bat Craft
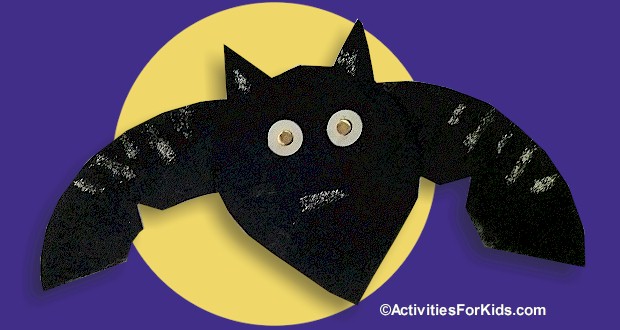
Bats are a Halloween favorite — mysterious, nocturnal, and just a little spooky. With this simple craft, kids can create their own paper plate bat that really looks like it’s flying. By adjusting the wings at different angles, each bat takes on a life of its own! Hang them from the ceiling or display them in the window for a fun Halloween decoration that adds a playful touch of “spooky cute” to any space.
Inexpensive and easy to assemble bats made from a paper plate. For this example, I used a small 6″ white plate and painted it black.
Supplies You’ll Need
- White paper plate (any size that’s paintable – avoid Styrofoam).
- Black paint or a black paper plate
- 2 gold or silver brads (paper fasteners)
- 2 white paper hole protectors
- Silver glitter glue (optional)
How to Make the Paper Plate Bat
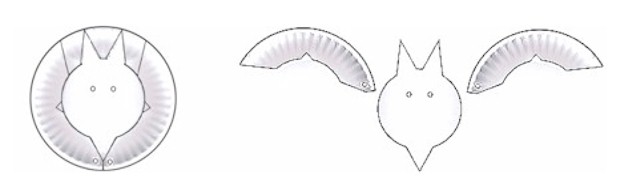
- Cut the Bat Shape
Cut out the center of the paper plate for the bat’s body and face. At the top, cut two small “V” shapes for ears, and one at the bottom to form a point. - Paint and Dry
Paint the bat body and wings black, then set aside to dry. If you’re using black plates, you can skip this step. - Add the Details
Cut or notch the bottom edge of the wings. Punch holes for the eyes and on the edges of the wings. - Assemble the Bat
Place white hole protectors around the eye holes. Then, use the brads to attach each wing, allowing them to pivot so the bat’s wings can “fly.” - Decorate and Display
Add a touch of sparkle with silver glitter glue if you’d like. Finally, hang your bats around the room and adjust the wings to make them look mid-flight!
More Fun Ideas
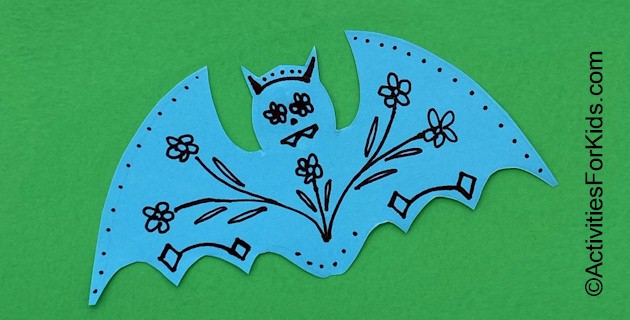
Give this a try! An art lesson in symmetry with these Day of the Dead Halloween Bats.