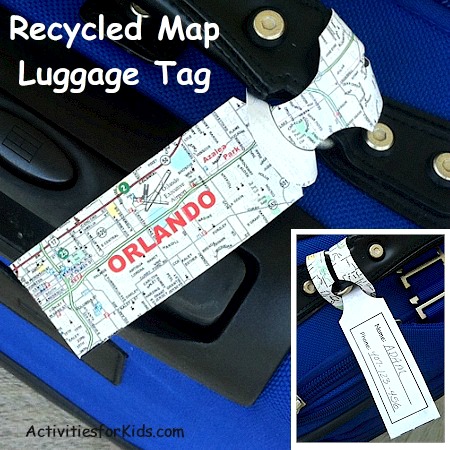
Build excitement for your next family vacation by creating a colorful DIY luggage tag. No need to go out and purchase supplies, this is a good way to recycle an old map. Use recycled maps from where you are traveling to, where you have been or even of your hometown. Even if you don’t have an upcoming trip planned, this is a great gifting idea for mom, dad, grandma and grandpa.
[AFK_02]
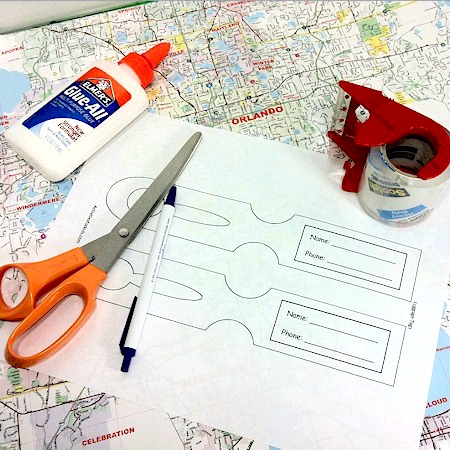
Supplies Needed for the DIY Luggage Tag
- Scissors
- Glue
- Pencil or pen.
- 2″ Clear packing tape
- Map or decorative paper
- Luggage Tag template
Putting It Together
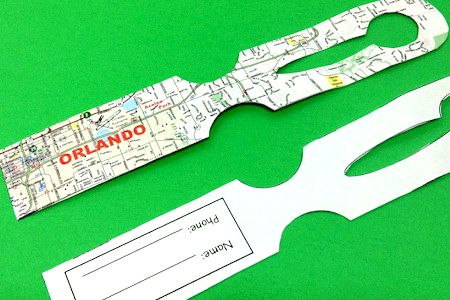
Start out by printing Luggage Tag template. Additional trimming will be done later, so just the basic outline without the semi-circle indents will be fine at this point.
Find a section of the recycled map that you want to use. Turn the luggage tag template face down on the map and trace it onto the map then cut the map out.

[AFK_02]
Fill in the Name and Phone section on the template. It is not recommended that too much personal information about a child be used. Lightly glue the section of map (desired map section showing) to the luggage tag template (name portion showing). Be sure to allow ample time for the tag to dry completely.
Roll out about a 10″ section of the 2″ clear packing tape. Carefully place one side of the luggage tag to the tape. Cut a second section of tape and adhere to the other side of the tag.
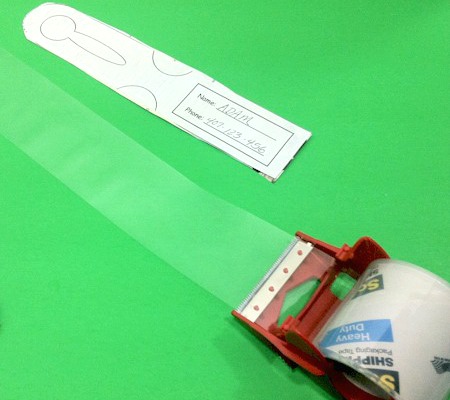
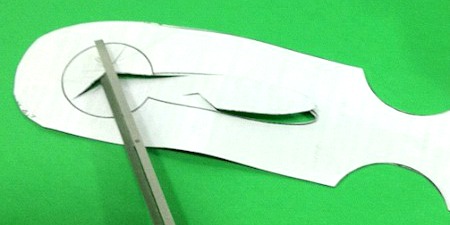
At this point, the front and back of the luggage tag are together and strengthened by the packing tape. Now we are ready to do a more accurate job of trimming the tag, which includes the 2 semi-circle parts and the opening for the tag to loop through.
Hint: Gently fold the tag in the area of the opening and make a small cut with the scissors. Once you have a starting place, cut around the lines. The circle portion can have little snips from the center to the lines for easier cutting.
[AFK_02]
Two separate tags are shown here – one representing the front, the other representing the back.
Loop one tag around the handle of your luggage inserting the squared end through
the opening on the rounded end.