Activities For Kids Easy crafts and printables for kids, preschool and older. You'll also find Birthday Party themes, Holiday crafts, Kids recipes and Classroom prtables.
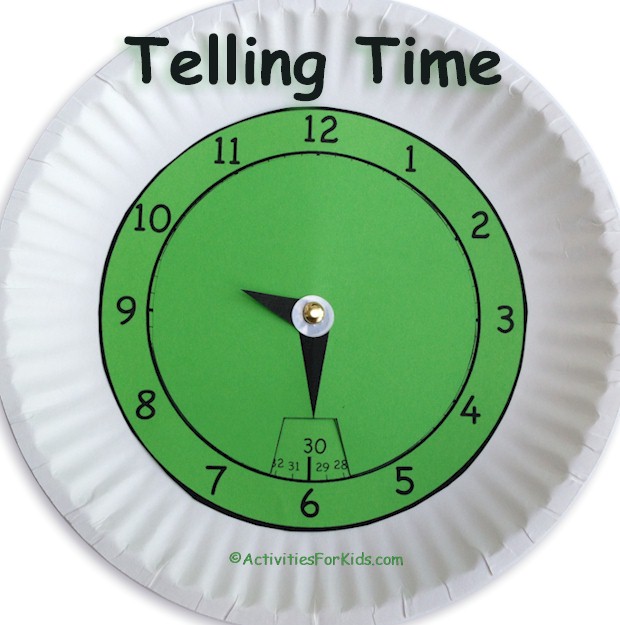
Two printouts are used for this clock printout. In this example, I printed both pages on green printer paper and glued to a paper plate. Telling time is an important lesson for younger children and this lesson helps to understand the minute associated with the numbers on the clock.
MATERIALS:
- Printer paper either white or colors.
- Paper plate – optional
- Craft glue or glue stick
- Scissors
- Hole punch
- Paper brad (fastener)
- Paper hole reinforcers
- Clock printout
- Minute hand printout
INSTRUCTIONS:
- Print out the Clock printout and Minute hand printout. Note: When printing a PDF document, select actual size.
- Have children cut out the two circles, notching the smaller circle where indicated. Also cut out the hour hand from this printout.
- Punch a hole in the hour hand where indicated. To make the movable hour hand more secure, attach a paper hole reinforcer to both sides of the punched circle.
- The teacher or adult will need to gently fold both circles and make a small notch in the center where the circle in shown.
- With the brad, add the hour hand, smaller circle and larger circle then secure the brad in the back of the larger, clock circle.
- Glue to a paper plate if you would like.
SUGGESTIONS:
- Instead of printing on white paper, use colored printer paper for a more decorative clock.
COMMENTS:
If you liked this educational, telling time craft, please ‘Like’ Activities for Kids on Facebook and stay up -to-date on all the printables and activities for children. Be sure to follow Activities for Kids on Twitter and Pinterest.